Roof Compatibility · Slate
By Thomas Moyes, Co-Founder, SolVe Innovations Ltd
Solar Panels on a Slate Roof — Everything You Need to Know
The SolVe Mount is MCS 012 3.0 certified for natural and composite slate. No tiles are removed. No flashing is dressed. Any competent trade can install it — using only a drill and a spanner.
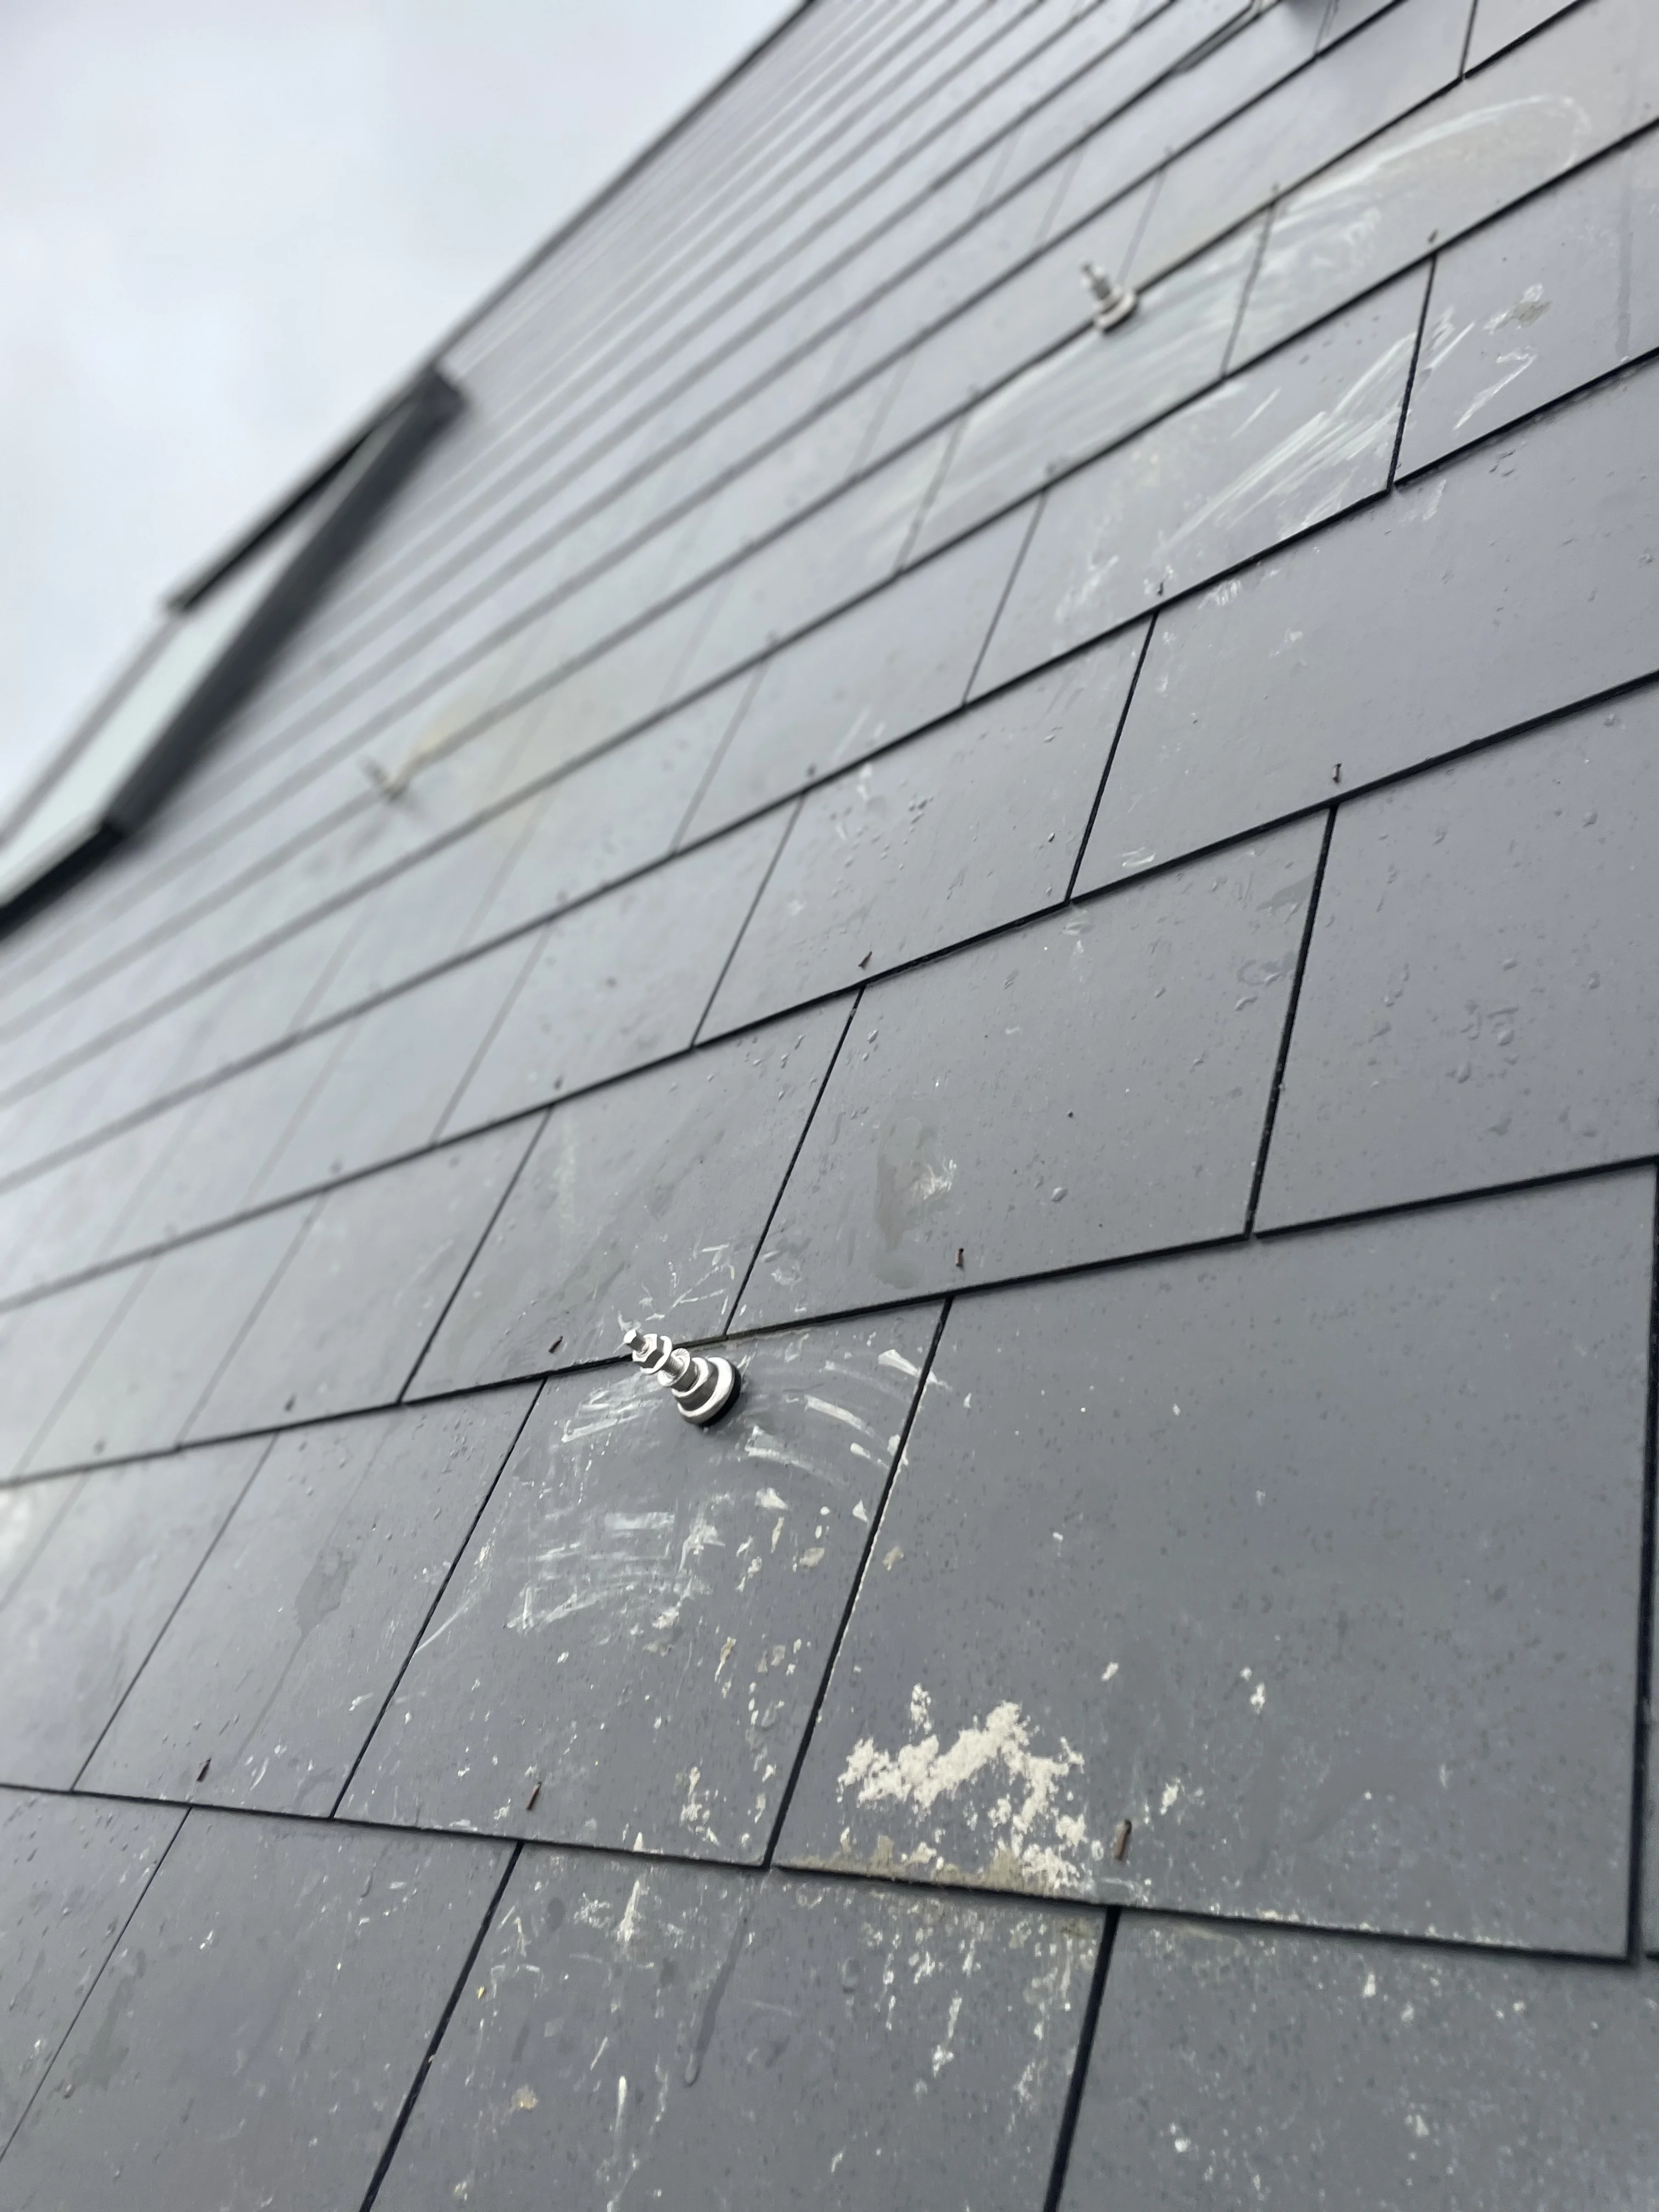
Key Takeaways
- —MCS 012 3.0 certified (Certificate BBA 7460) for natural slate and composite slate.
- —No tiles removed — the slate stays in place throughout the installation.
- —A 28mm diamond core bit creates the working hole. No drilling through slate, no hammering, no cracking.
- —Zero load is placed on the slate — all force is channelled directly to the rafter.
- —IPX8 watertight seal — tested submerged for 30 days with no ingress observed.
- —Suitable for roofers, electricians, solar installers, AC engineers, and competent DIYers.
MCS Certified
Is a Slate Roof Compatible with the SolVe Mount?
Yes. Natural and composite slate tiles are common in both traditional and modern UK architecture. Standard slate is typically 4–6mm thick. The SolVe Mount is MCS 012 3.0 certified for these materials and requires no special adjustments for standard installations.
The recommended position is 50mm above the rafter nail as located by the Rafter Finder app. On thin coverings such as standard slate, any position on the tile works. On thicker coverings, install as close to the overlapping tile above as possible.
The Method
Does It Require Drilling Through Slate?
No. The SolVe Mount uses diamond coring — not conventional drilling. A diamond core bit is a hollow tube with industrial diamonds bonded to the cutting edge. It grinds away a clean 28mm plug of material with almost no vibration, no hammering, and no heavy pressure.
The same technique is used to cut holes in glass shower screens without cracking them. On slate — considerably tougher than glass — the result is a clean, circular working hole. The slate around the hole is left almost undisturbed and retains its structural integrity.
Traditional mounting methods use an angle grinder to make six straight cuts — a rectangular opening with corners that are prone to cracking under pressure. SolVe's circular core hole has no such weak points.
| Aspect | Conventional Drilling | SolVe Diamond Coring |
|---|---|---|
| Force applied | Heavy pushing — you lean in | Light guidance only — the bit does the work |
| Vibration | High — shakes the whole slate | Minimal |
| Hammer / percussion | Often used | Never needed |
| Result on slate | Can cause stress cracks or chips | Clean circular hole, slate almost undisturbed |
| Load on slate | Present | Zero — all force to rafter |
The Install
How to Install the SolVe Mount on a Slate Roof
All you need is a drill, a 28mm diamond core bit, and a spanner. No tile removal, no flashing, no specialist roofing knowledge required.
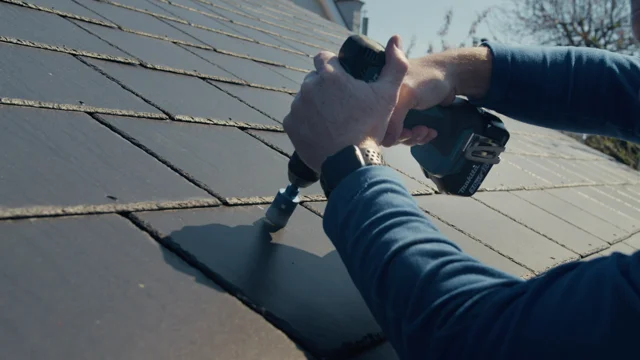
Core
A 28mm diamond core bit cuts a precise working hole through the slate. No tile is removed. The slate around the hole is left almost undisturbed.
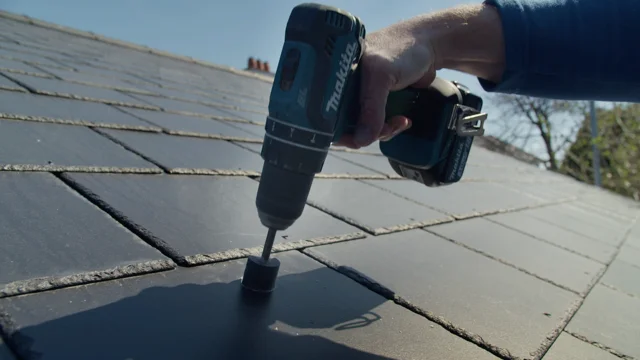
Pre-drill
Using the drill guide provided with every SolVe Mount, pre-drill the rafter below through the core hole.
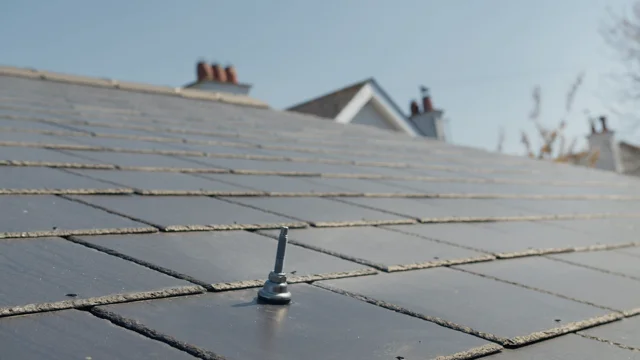
Fix
Screw the fully assembled SolVe Mount through the core hole and into the rafter. Forces are channelled directly to the rafter — zero load is placed on the slate.
Seal
Tighten a single nut. The expansion seal presses outward against the walls of the core hole, creating a permanent IPX8-rated watertight barrier. Done.
Slate installation tip: Pre-assemble all SolVe Mounts first. Core all holes in a row, pre-drill all rafter holes, then fix all mounts. Four SolVe Mounts in under two minutes.
HOW DO YOU LOCATE THE RAFTERS UNDER THE SLATES?
Video: Rafter Finder locating a rafter through slate tiles in seconds
Case Study
London, UK — Whole House Redevelopment, Slate Roof Solar PV
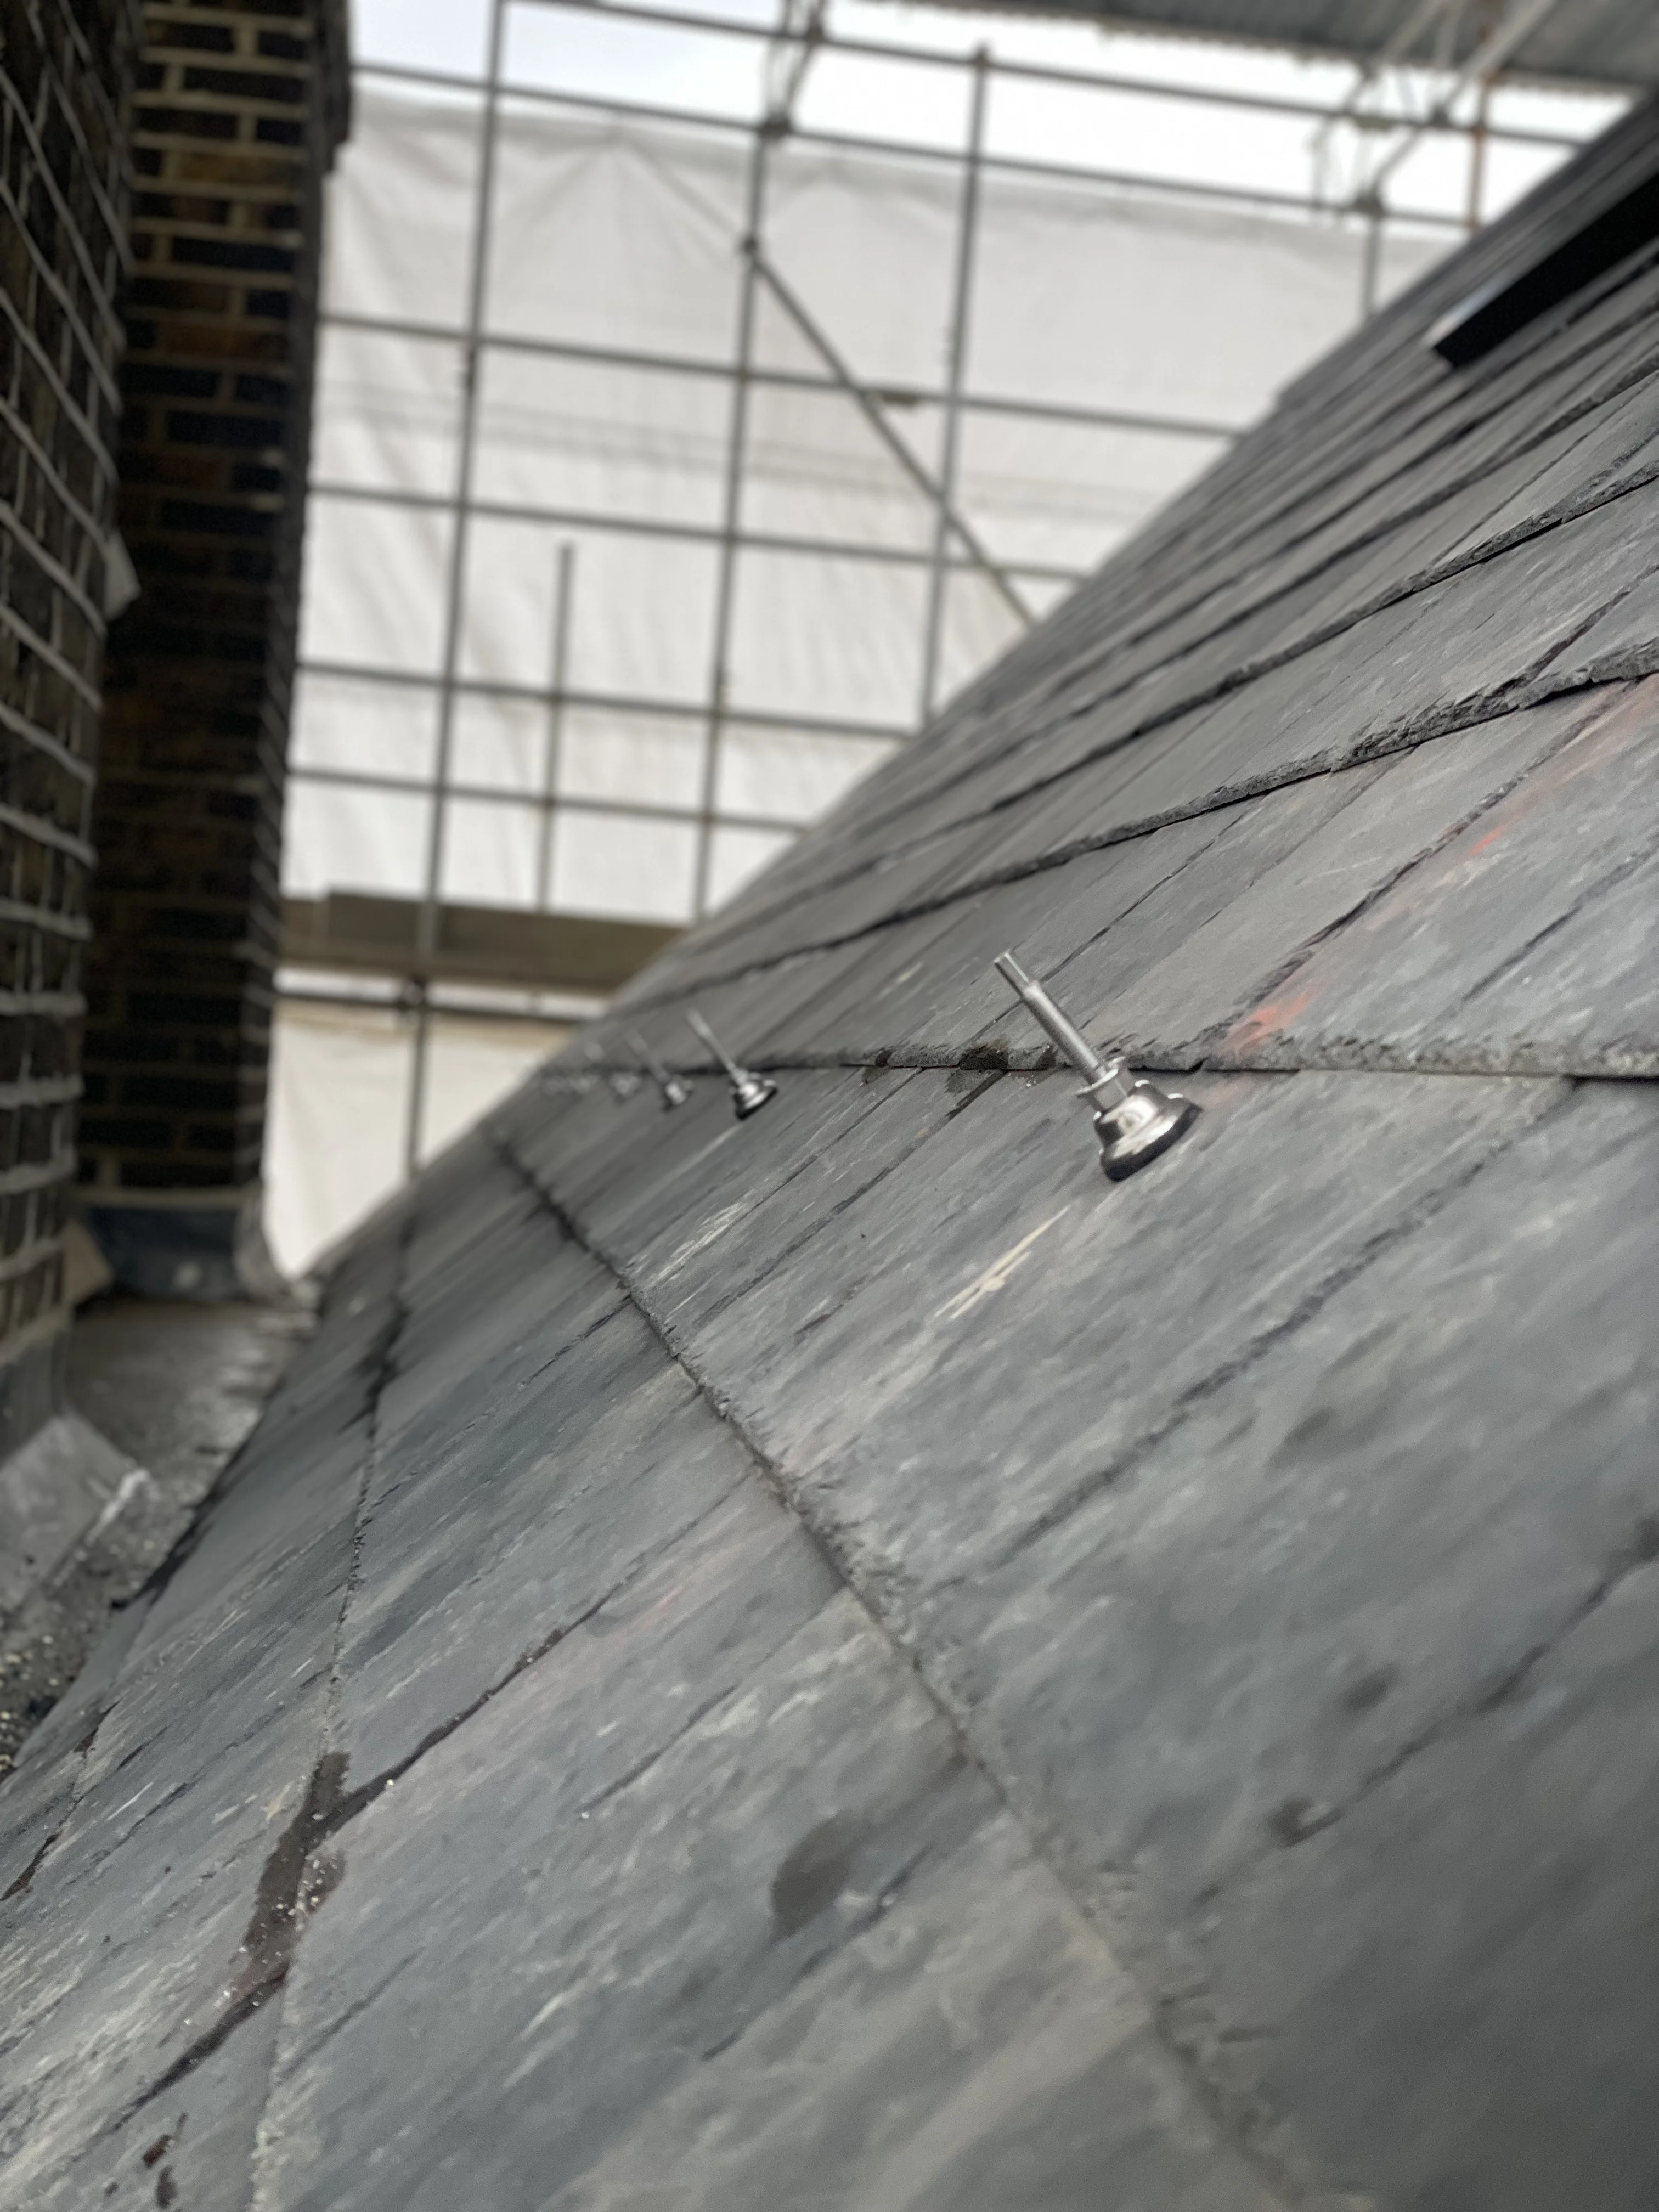
A whole house redevelopment in London including the addition of Solar PV. The project owner requested SolVe Mounts be used on the brand new slate roof as it is the least invasive way to mount solar on a slate roof.
SolVe Mount provides a lower profile installation and does not affect the fire rating of the newly constructed roof. With no tile removal required and a watertight IPX8-rated seal, it was the obvious choice for protecting a brand new roof covering.
The lowest profile, least invasive solar mounting for slate roofs.
Video: SolVe Mount being installed on a slate roof — close up
Coverage
Which Slate Roof Types Are Covered?
The SolVe Mount is certified for all of the following. Click through to the dedicated roof type page for full technical specifications.
Standard slate (natural)
Welsh blue/grey, 4–6mm thick. No adjustments required.
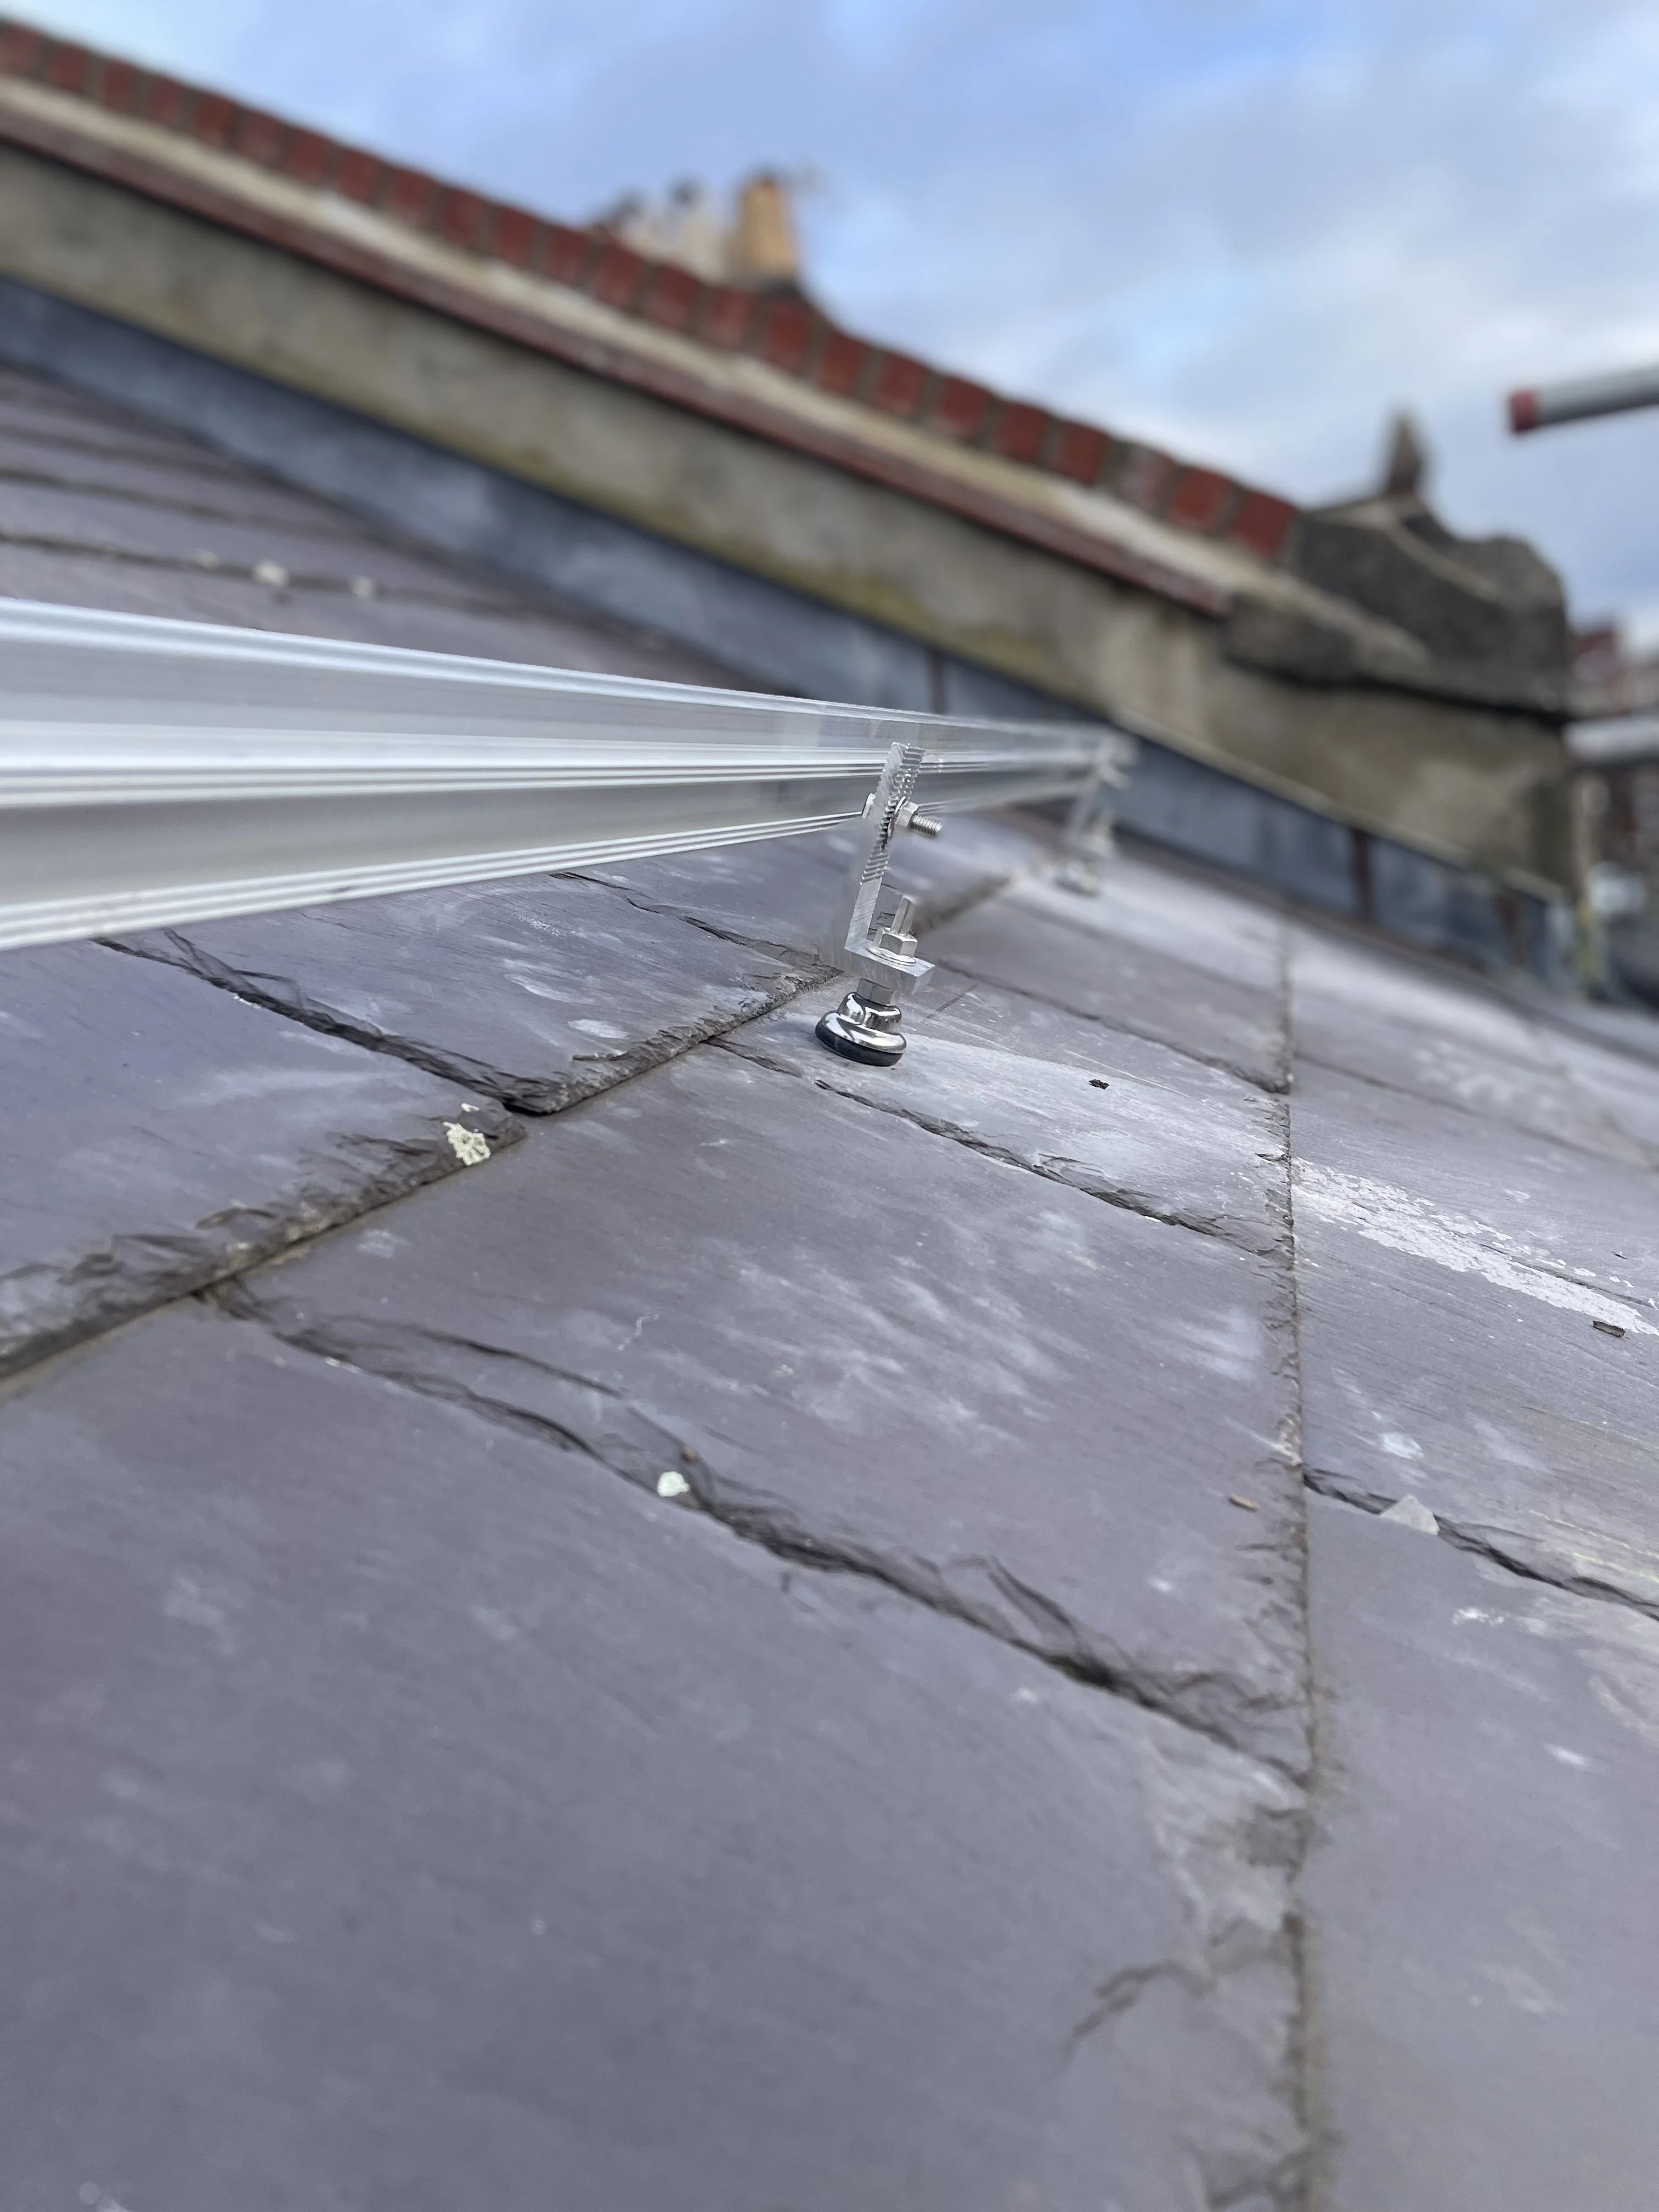
Composite slate
Fibre cement and similar composites. No adjustments required.
Heavy slate
Thicker, denser natural slate. See the heavy slate page for specifics.
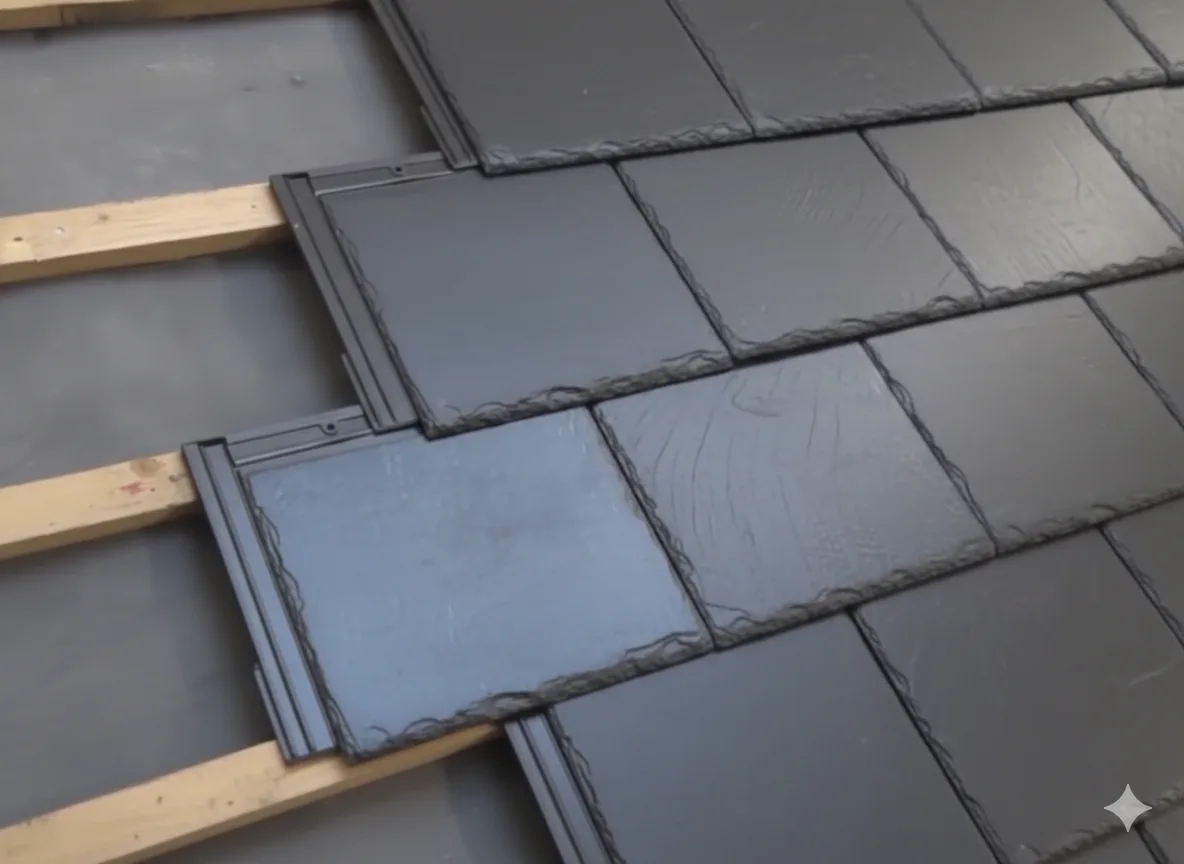
Cambrian interlocking slate
Interlocking profile. Position 50mm above the rafter nail; as close to the overlapping tile as possible.
Why SolVe
SolVe Mount vs Traditional Slate Mounting
| Traditional Mount | SolVe Mount | |
|---|---|---|
| Tiles removed? | Often | Never |
| Roofer required? | Often | No |
| Waterproofing | Lead flashing | IPX8 — 8.2× safety margin |
| Load on slate | Present | Zero — all force to rafter |
| MCS 012 3.0 | Varies | Certified (BBA 7460) |
| Warranty | Varies | 20 years |
| Install time | Varies | Under 60 seconds per mount |
FAQ
Common Questions
Yes. The SolVe Mount uses a 28mm diamond core bit to create a working hole through the slate. The slate stays in place — nothing is removed, nothing is disturbed. The expansion seal creates an IPX8-rated watertight barrier inside the core hole.
No. It uses diamond coring — a gentler method than traditional drilling. A hollow core bit grinds away a clean 28mm plug of material with almost no vibration. It does not hammer, push, or crack the slate. The same technique is used to cut holes in glass shower screens without cracking them.
Yes. The SolVe Mount holds MCS 012 3.0 certification and BBA Certificate BBA 7460, covering natural slate and composite slate. No special adjustments are required for standard slate installations.
Position 50mm above the rafter nail location (as identified by the Rafter Finder app). On thin coverings such as standard slate, any position on the tile works. On thicker coverings, install as close to the overlapping tile above as possible.
The SolVe Mount is tested to IPX8 — submerged for 30 days continuously with no ingress observed. The test pressure is 8.2× higher than 100 mph wind-driven rain. The seal would need to lose 88% of its sealing force before any risk of ingress, a level of degradation it is engineered to resist for well over 100 years.
No. SolVe Mount provides a lower profile installation and does not affect the fire rating of the roof covering.
With the all-in-one install method — pre-assemble all mounts, core all holes in a row, pre-drill all holes, then fix — four SolVe Mounts can be installed in under two minutes.
Related
Technical
Does the SolVe Mount Require Drilling Through Slate?
The difference between coring and drilling — and why it matters for slate roofs.
Installation
Do You Need a Roofer to Install Solar Panels?
Who can install the SolVe Mount — and what MCS 012 3.0 actually requires of the installer.
Installation
Install Solar Panel Mounts Yourself
A step-by-step walkthrough of the full installation — core, fix, tighten. Suitable for all trades.
Tools
SolVe Rafter Finder
Locate every rafter through the tiles using just your phone. No guesswork, no removal.