Installation
Published May 2026
Install Solar Panel Mounts Yourself — Suitable for All Trades and DIYers.
If you can use a drill and tighten a nut, you can install solar mounts perfectly. Every time. Suitable for all tradesmen and competent DIYers.
Key Takeaways
- —The SolVe Mount installs through any roof tile without removing tiles or dressing flashing.
- —Installation requires a 28mm diamond core hole, pre-drilling the rafter and tightening a nut — no specialist skills required.
- —MCS 012 3.0 Certified. Compatible with all MCS Certified rails.
- —Suitable for roofers, electricians, AC engineers, solar installers, and competent DIYers.
- —Typical installation takes less than 60 seconds per mount.
No Specialist Needed
Who Can Install It?
Electrician
You already connect inverters, batteries, and distribution boards. The roof mount is the one piece you've been missing — and it's simpler than any of those.
Air Conditioning Engineer
Solar pairs extremely well with air conditioning. Now you can confidently install the full system. You core, you fix, you seal. Add a cross sell or up sell to your offering and capitalise on solar's growth.
Solar Installer
Take on the full roof install without a roofer on the team. More jobs, better margins, no dependency.
Confident DIYer
If you've ever drilled a wall fixing or tightened a nut, you have every skill you need to install a SolVe Mount.
HOW DO YOU LOCATE THE RAFTERS UNDER THE SLATES OR TILES?

The Install
All You Need Is a Drill and a Spanner
Five steps. Under 60 seconds per mount. No tile removal, no flashing, no specialist roofing knowledge required.
Find every rafter — use the Rafter Finder app so you core in exactly the right spot every time.
Mark your positions on the tile or slate.
Core a 28mm hole through the tile or slate using a diamond core bit. No tile removed. No damage.
Pre-drill into the rafter using the drill guide provided.
Screw in the SolVe Mount.
Twist the seal to set the correct height for your roof covering.
Tighten the nut — the seal expands outward against the core hole walls, creating the IPX8 watertight barrier.
Done — sealed, secure, fit and forget.
Why SolVe
SolVe Mount vs Traditional Mounting
| Traditional Mount | SolVe Mount | |
|---|---|---|
| Roofer required? | Often | No |
| Tiles removed? | Often | Never |
| Special tools? | Yes | Drill + spanner |
| Leak risk? | Present | IPX8 sealed — 8.2× safety margin |
| Roof types | Limited | Slate, tile & plain metal |
| Certification | Varies | MCS 012 3.0 + BBA certified |
| Warranty | Varies | 20 years |
The Engineering
Fit and Forget — The Leak-Proof Case
Every roof penetration is a potential leak. The SolVe Mount was designed from the start to remove that risk entirely — not just reduce it.
UK 50-year Storm
100 mph wind-driven rain
1.2 kPa
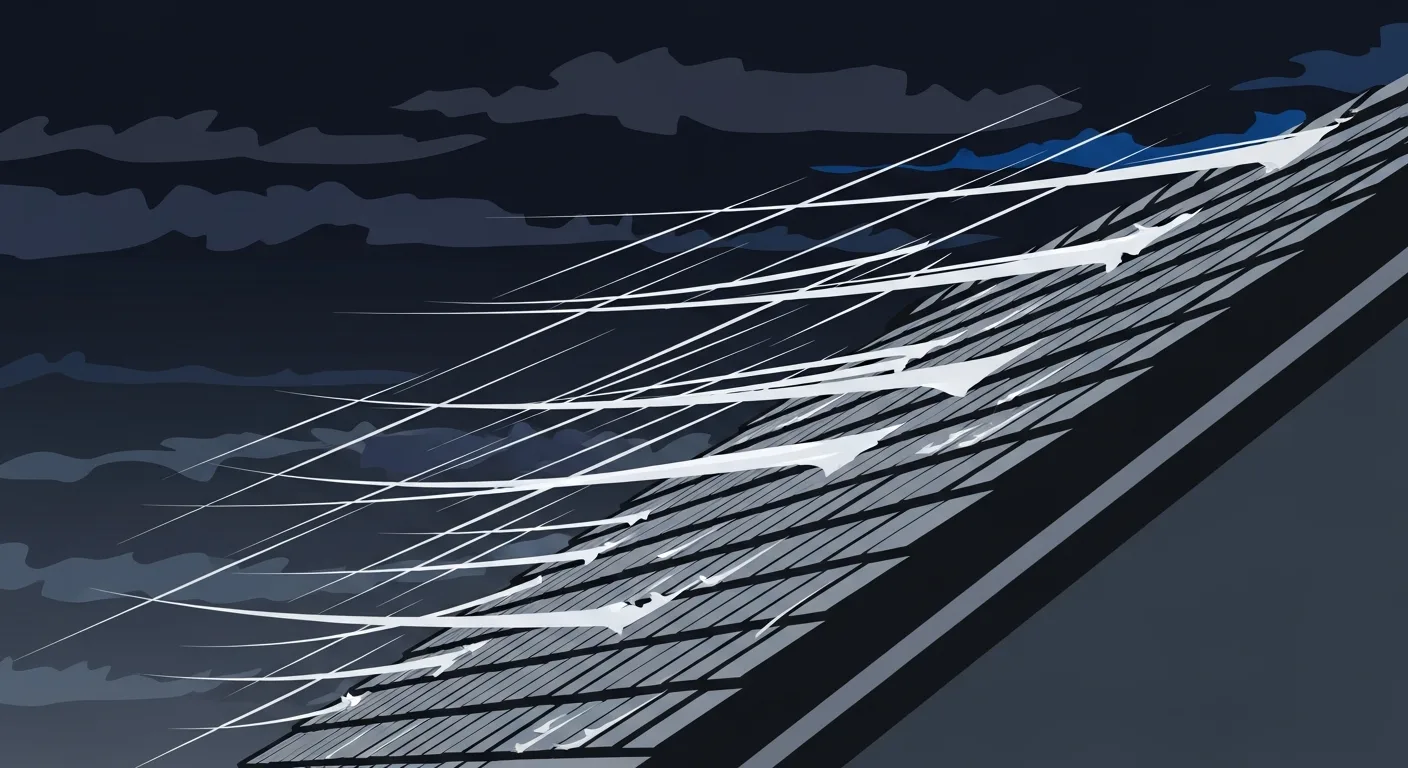
BS EN 1991-1-4 §4.2 — 100 mph wind at the UK 50-year return period
IPX8 Test Standard
Submerged 1 m underwater
9.8 kPa

IEC 60529 IPX8 — 1 m continuous immersion for 30 days. Zero leakage observed.
The SolVe Mount IPX8 seal is tested to
8.2×
the pressure of a 100 mph storm
9.8 kPa (IPX8) vs 1.2 kPa (worst UK storm)
88%
Sealing force would have to be lost
The seal must degrade by 88% before wind-driven rain at the worst UK storm could pose any risk of ingress. That level of degradation is not expected to occur within the lifetime of the building.
100+
Years to reach that degradation — likely never
The seal was immersion-tested for 30 days at IPX8 pressure with no degradation observed. It is engineered to hold its sealing performance for well over a century.
From the Trades
"It solves a lot of issues, pardon the pun"
Nick B
Cambridge Air Conditioning
"It's a game changer for us"
Samuel S
SSC SW Ltd
Perfect For Electricians
Add Solar Mounts to Your Services
You already know how to fit inverters, batteries, and consumer units. Solar roof mounts are the one piece of the puzzle you've perhaps held back from — assuming it needs a roofer.
It doesn't. The SolVe Mount is the physical part: core a hole, drill into the rafter, fix the mount, tighten the nut. You then connect the DC string wiring and AC inverter output exactly as normal. The entire roof install is yours — no subcontractor, no delay, no shared margin.
Air conditioning engineers are in exactly the same position. You're on roofs regularly, you core, you fix, you seal. The SolVe Mount is four of those steps.
Suitable for all tradesmen and competent DIYers
No specialist roofing knowledge needed — just a drill and a spanner.
MCS 012 3.0 certified component
The SolVe Mount is MCS 012 3.0 certified. If you hold MCS installer accreditation, your customer qualifies for Smart Export Guarantee payments.
Non-MCS installs
Octopus Energy will sometimes pay their export rates to non-MCS certified solar systems. Contact Octopus for more information.